

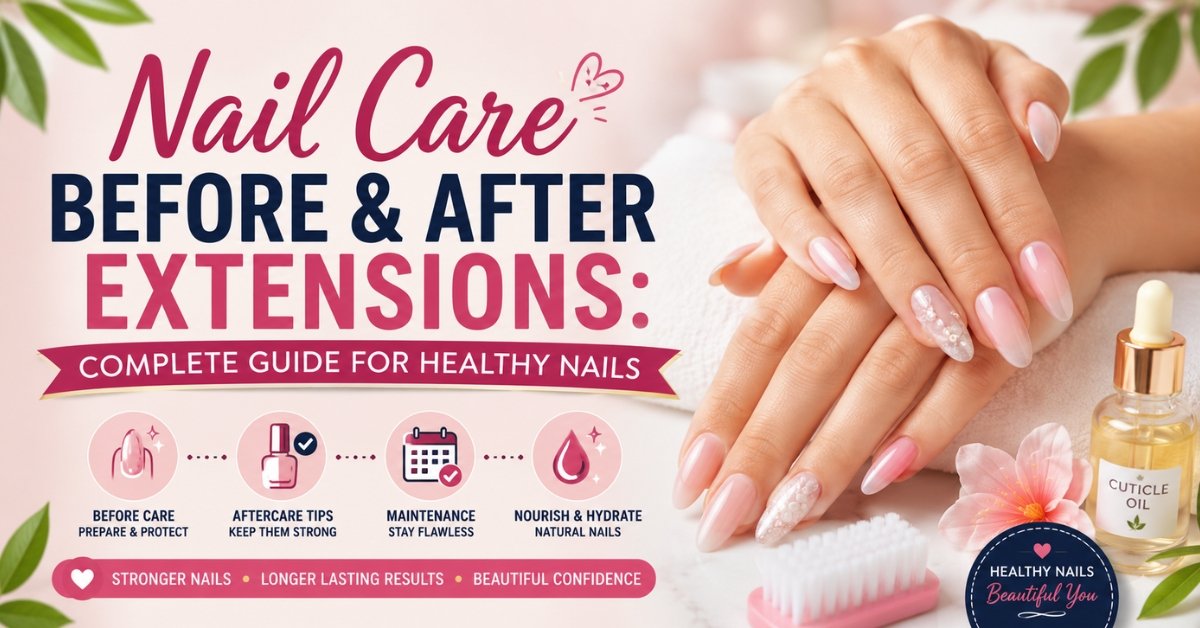
Quick Summary: Proper nail care before and after extensions helps maintain a beautiful finish while protecting your natural nails. Prepare your nails properly, follow a consistent nail extension aftercare routine, avoid picking or using extensions as tools, and schedule regular maintenance. Most importantly, always choose professional application and safe removal for healthier-looking nails.
Nail extensions can instantly transform your hands, giving you the length, shape, and polished finish you’ve always wanted. But getting beautiful extensions is only half the job; proper nail care before and after extensions plays a major role in keeping your manicure flawless and your natural nails healthy. From preparing your nails before your appointment to following the right nail extension aftercare routine, a few simple habits can make your extensions last longer and help prevent unnecessary breakage, lifting, and damage.
Whether you’re getting gel nail extensions, acrylic nails, or another type of nail enhancement, knowing what to do before your appointment, how to care for your extensions every day, and how to remove them safely can make all the difference. In this guide, you’ll discover practical nail care tips, maintenance advice, common mistakes to avoid, and expert-friendly ways to keep both your extensions and natural nails looking healthy, strong, and beautiful.
Why Nail Care Before Extensions Matters
Most nail damage isn’t caused by the extensions themselves; it’s caused by skipping preparation or aftercare. Applying extensions over dehydrated, brittle, or infected nails traps moisture and bacteria underneath, which is how fungal infections and lifting start. Getting the prep right sets the foundation for extensions that last longer, look better, and come off without stripping your natural nail plate.
How to Prepare Your Nails Before Getting Extensions
- Stop using gel or acrylic 1–2 weeks beforehand if your nails feel weak. Give your natural nail plate a short break so the technician is working with healthy keratin, not already-thinned nail.
- Trim and shape your natural nails a day or two before your appointment so they’re at a length the technician can work with.
- Moisturize cuticles nightly in the lead-up to your appointment, but arrive with clean, product-free nails no polish, no oil, no lotion on the nail plate itself, since these interfere with adhesion.
- Treat any existing nail issues first. Visible discoloration, peeling, or soreness around the nail bed should be addressed before extensions go on top ask your technician or a dermatologist if anything looks off.
- Avoid shaving or waxing your hands/forearms the day of your appointment, since freshly opened pores can be more sensitive to filing and adhesives.
- Stay hydrated. Nails are more flexible and less prone to snapping when your body (and nail bed) isn’t dehydrated.
Internal tip: If you’re unsure which extension type suits your lifestyle, it’s worth reviewing the different nail extension types before booking, since acrylics, gel-X, and hard gel all have different prep and removal needs.
Your First 24 Hours After Nail Extensions: Essential Aftercare Tips
What you do in the first few hours after leaving the salon has an outsized effect on how well your extensions hold up.
- Avoid submerging hands in water for 2–3 hours after your appointment to let the product fully cure and set.
- Skip heavy manual tasks (washing dishes, gardening) for the rest of the day new extensions are more vulnerable to impact before they’ve fully hardened.
- Apply cuticle oil that evening, even though the nail itself will feel sealed. The skin around it still needs hydration.
- Don’t pick at the edges, even if a tiny bit of product feels raised. Picking within the first day is one of the most common causes of early lifting.
Daily and Weekly Nail Extension Aftercare
Consistent, low-effort habits do more for nail extension maintenance than any single “hack.” Here’s what actually works.
Daily Habits
- Apply cuticle oil once a day, focusing on the base of the nail where the extension meets your skin. This is the single most effective habit for keeping both the extension and the natural nail underneath healthy.
- Wear gloves for cleaning, dishwashing, and gardening. Prolonged water and chemical exposure is the leading cause of lifting and fungal growth under extensions.
- Use your nails as tools sparingly. Opening cans, scratching labels, or prying things apart puts direct lateral stress on the extension and the natural nail bed beneath it.
- Apply hand cream after every wash. Extensions don’t need moisture, but the surrounding skin and cuticle do.
Weekly Habits
- Inspect for lifting, cracks, or gaps around the cuticle line once a week. Catching this early means a quick fix instead of a full repair.
- Buff a top coat over your extensions if you’re not getting gel polish refreshed, to maintain shine and reduce surface staining.
- Check nail length and file down any snag points rather than waiting for a full breakage.
Do’s and Don’ts for Nail Extension Aftercare
| Do | Don’t |
| Apply cuticle oil daily | Pick, peel, or bite at extensions |
| Wear gloves for cleaning and dishwashing | Soak nails in hot water for long periods |
| File snags immediately | Use extensions to open cans or scratch labels |
| Book refills every 2–3 weeks | Wait until extensions lift significantly to get them fixed |
| Get extensions removed professionally | Rip or pry extensions off yourself |
| Moisturize hands after every wash | Apply nail polish remover repeatedly to “test” lifting |
Gel Nail Aftercare vs. Acrylic Nail Aftercare
Gel and acrylic extensions are cared for similarly day-to-day, but they differ enough in flexibility, curing, and removal that it’s worth knowing which applies to you.
| Factor | Gel Nail Aftercare | Acrylic Nail Aftercare |
| Flexibility | More flexible, less prone to cracking on impact | More rigid, can crack under sharp impact |
| Odor during application | Minimal | Noticeable during application (normal) |
| Curing | Cured under UV/LED lamp | Air-dries |
| Refill window | Every 2–3 weeks | Every 2–3 weeks |
| Removal method | Soaked off with acetone, gently buffed | Soaked off with acetone or filed down |
| Best for | Sensitive nail beds, natural-looking finish | Strength, length retention, nail art durability |
Both types benefit from the same core aftercare rules: daily cuticle oil, glove use during chores, and professional removal. Where they differ is impact resistance: if you’re hard on your hands (frequent typing, manual work, sports), acrylics tend to hold shape better, while gel is gentler on natural nails long-term.
Nail Extension Maintenance and Refill Timeline
Extensions grow out with your natural nail, which creates a visible gap at the base over time. Here’s a realistic maintenance timeline:
| Timeframe | What to Do |
| Week 1 | Monitor for lifting; keep up daily cuticle oil |
| Week 2 | Light filing if any snag points appear; continue moisturizing |
| Week 2–3 | Book a refill/fill-in appointment to address regrowth gaps |
| Week 4–6 | If skipping a refill, plan for full removal instead of letting extensions overgrow |
| Every 6–8 weeks | Consider a short natural-nail break, especially if nails feel thin or flexible |
Skipping refills doesn’t save time it usually means more product is stripped off later, taking a thinner layer of your natural nail with it. If your schedule is tight, a quick nail refill service is far less damaging than waiting until the extension visibly separates from your nail bed.
How to Keep Nail Extensions Healthy: Common Mistakes to Avoid
Even people who genuinely care for their nails make a few repeat mistakes:
- Picking off polish or product instead of soaking it off. This is the single biggest cause of thin, peeling natural nails after extensions.
- Skipping cuticle oil because the nail “feels fine.” The extension isn’t what needs oil; the living skin around it does.
- Using nails as tools. Prying open packaging or phone cases puts stress exactly where lifting starts.
- Ignoring early lifting. A tiny gap at the base is a two-minute fix at week two; left alone, it becomes a trapped-moisture problem by week four.
- Over-filing at home. Reshaping extensions yourself with the wrong grit can thin the product unevenly and weaken the tip.
- Going too long between refills. Extensions aren’t meant to be worn indefinitely without maintenance; overgrowth adds weight and leverage that stresses the natural nail.
- DIY removal with tools instead of soaking. Popping extensions off with a cuticle pusher or tweezers is the fastest way to remove several layers of natural nail along with it.
Signs of Nail Damage After Extensions
It’s normal for natural nails to feel slightly thinner right after removal, which typically resolves within a few weeks. What’s not normal:
- Persistent white or yellow discoloration that doesn’t grow out a possible sign of fungal infection.
- Nails that are painful to the touch or sensitive at the nail bed.
- Visible peeling in layers (onychoschizia) that keeps happening cycle after cycle.
- Swelling, redness, or warmth around the cuticle, which can indicate infection and should be checked by a professional or doctor.
- Nails that don’t regain any thickness after 4–6 weeks of a break.
If you notice any of these, pause extensions and let your natural nails recover before your next set. A qualified technician can also assess whether it’s product-related damage or something that needs medical attention.
Safe Nail Extension Removal: Step-by-Step
Improper removal is responsible for more long-term nail damage than the extensions themselves. Here’s how it should be done:
- Book a professional removal appointment rather than removing extensions at home this is the single most important step for nail health.
- The nail is soaked in acetone, usually with foil wraps or a soaking bowl, for 10–20 minutes depending on the extension type.
- The technician gently pushes off the softened product it should lift away with minimal resistance, never scraped or forced.
- Remaining residue is buffed lightly, not aggressively filed down to the nail bed.
- Cuticle oil and a strengthening treatment are applied immediately after to rehydrate the nail plate.
- A short recovery period (1–2 weeks minimum) is recommended before your next set, especially if you’ve worn extensions continuously for months.
Never rip, peel, or pry extensions off. Even a small amount of force can remove several layers of your natural nail’s keratin, leaving nails thin, flexible, and prone to breaking for weeks.
How to Restore Healthy Nails After Extensions
If your natural nails feel thin, flexible, or ridged after removing extensions, recovery is very achievable with consistent care:
- Keep nails short for 2–4 weeks to reduce leverage and breakage while they thicken back up.
- Apply a nail strengthening treatment or keratin-based nail serum rather than another layer of hard polish.
- Oil the cuticles twice daily, not once; recovery periods benefit from more frequent hydration.
- Avoid gel polish immediately after removal; let nails breathe and rebuild for at least 1–2 weeks.
- Eat a protein-sufficient, biotin-rich diet nails are largely keratin, and nutrient deficiencies show up in nail structure over months.
- Wear gloves for all household chores during the recovery window, since bare nails are more vulnerable to water damage right after removal.
Most people see visible improvement in nail thickness and flexibility within 3–4 weeks of consistent care. If nails still seem unusually weak or damaged after 6–8 weeks, a professional manicure and nail health consultation can help pinpoint whether it’s product buildup, technique-related thinning, or something else.
Keep Your Extensions Beautiful and Your Natural Nails Healthy
Beautiful nail extensions and healthy natural nails can go hand in hand with the right preparation, regular nail extension aftercare, gentle daily habits, and professional removal. Taking care of your nails before and after extensions not only helps maintain a flawless finish but also supports the health of your natural nails.
If you’re looking for a trusted nail extension salon in Indiranagar, Bangalore, Nails For You Studio offers professional nail extensions, nail art, manicure, and pedicure services tailored to your style and nail needs.
Ready for beautiful, well-maintained nails? Book your appointment with Nails For You Studio today!
Frequently Asked Questions
1. How can I keep my nail extensions healthy and make them last longer?
To keep nail extensions healthy and long-lasting, avoid using them as tools, moisturize your cuticles regularly, wear gloves during household chores, and avoid picking or peeling the extensions. Schedule professional maintenance as your natural nails grow. Regular maintenance is commonly recommended around every 2–3 weeks, depending on nail growth and the type of enhancement.
2. How often should I get a refill or maintenance for my nail extensions?
Most nail extensions need a refill or maintenance appointment every 2–3 weeks, although the exact timing depends on your natural nail growth, extension type and lifestyle. Regular maintenance helps manage the gap caused by nail growth and allows your technician to address lifting or other issues before they become bigger problems.
3. What should I do if my nail extension starts lifting or breaking?
If a nail extension starts lifting or breaking, do not pull it off or try to glue it back yourself. Have it checked and repaired or professionally removed as soon as possible. Leaving a significantly lifted extension untreated can allow moisture and debris to become trapped underneath.
4. Can nail extensions damage your natural nails, and how can you prevent damage?
Nail extensions do not necessarily damage natural nails when they are properly applied, maintained and removed. Damage can occur from excessive filing, picking, forceful removal or poor maintenance. Choosing a skilled nail technician and following proper nail extension aftercare can help protect the natural nail.
5. How should I remove nail extensions without damaging my natural nails?
The safest option is to have nail extensions professionally removed according to the product used. Avoid peeling, pulling, or forcefully scraping them from the natural nail, as this can cause unnecessary damage. After removal, moisturize the nails and cuticles and follow a gentle nail-care routine while your natural nails grow.